Developing AI camera image recognition system in an hour
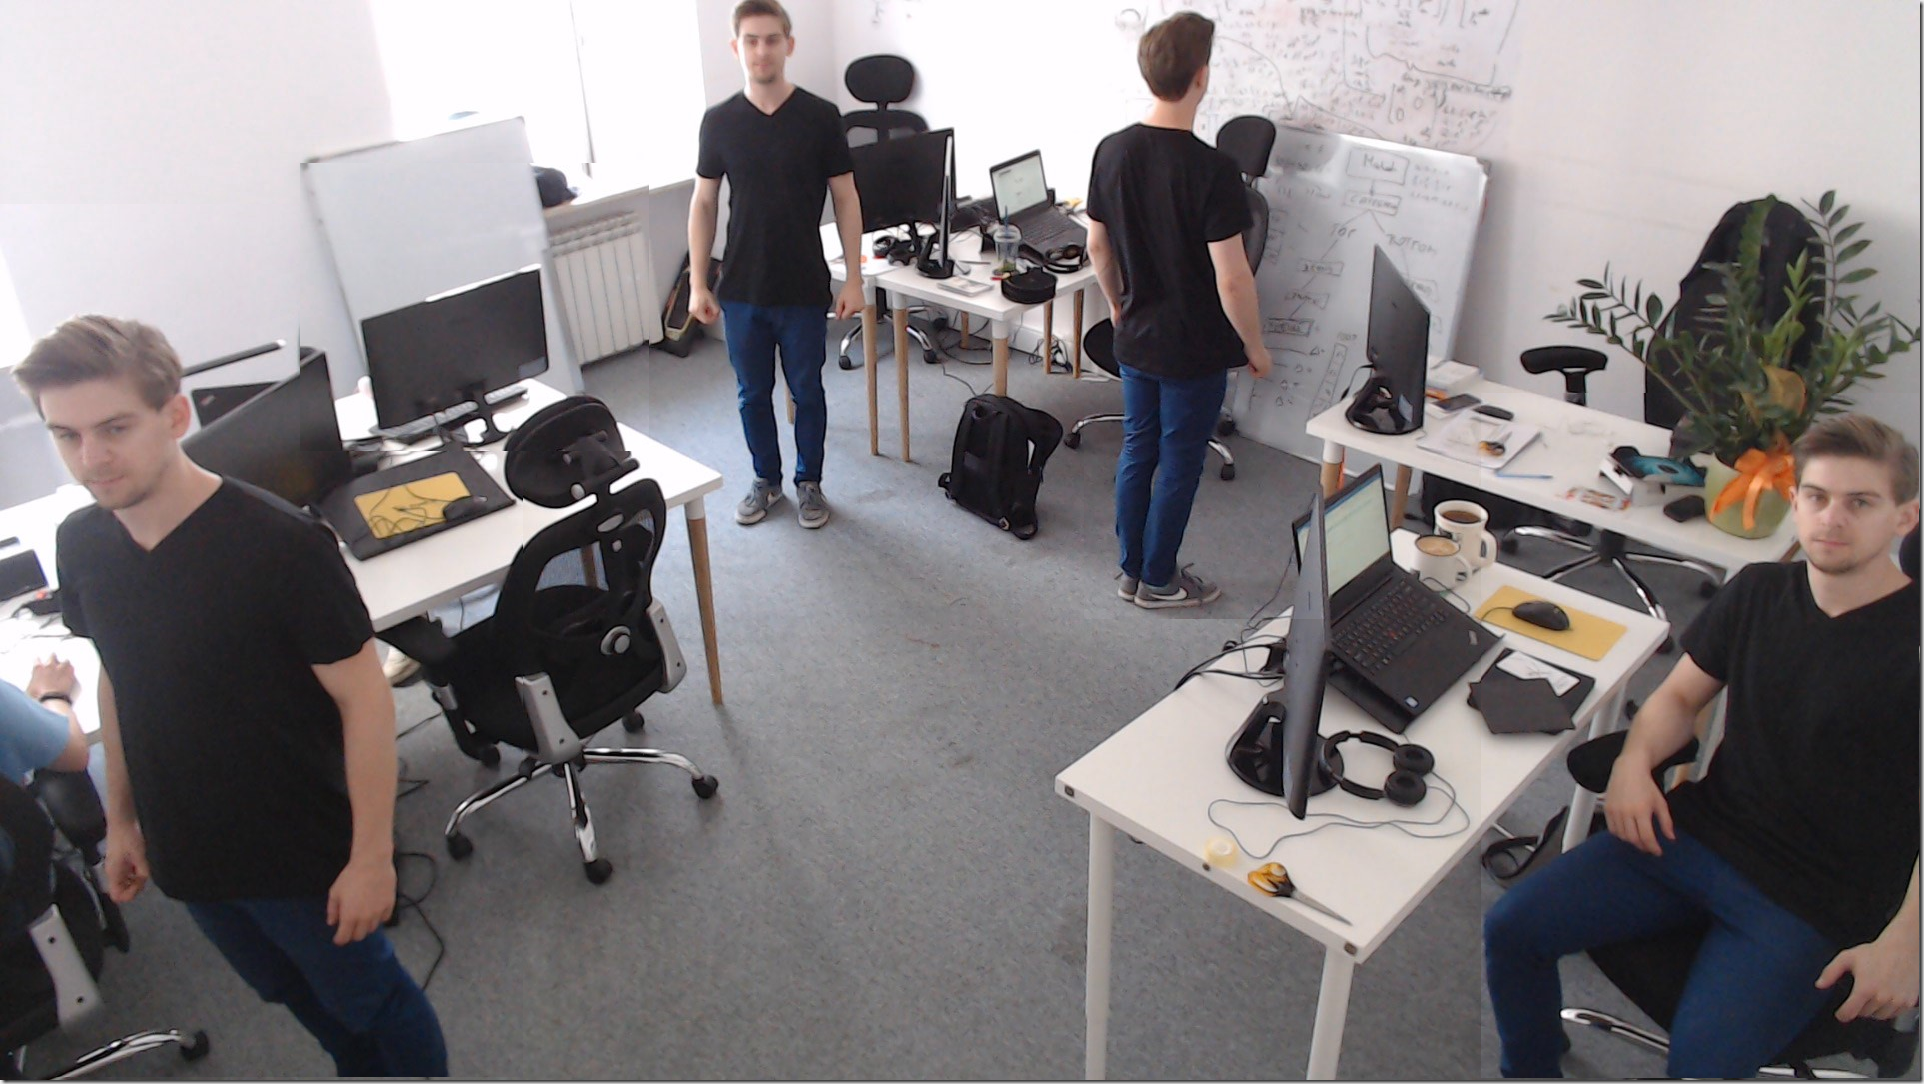
Cognitive Services from Microsoft offer pretrained networks that allow citizen developers to quickly develop e.g. image recognition algorithms. This short post is to show how it is done and how I have created a real-time people recognition system. The goal of this solution is to recognize people in our office and possibly inform our beloved founders of this. What I used was: a python script and a FullHD webcam + Cognitive Services Custom Vision API.
The steps are pretty straightforward:
- Get some training data.
- Set up the cognitive service.
- Train the data and set up an end point. We have to have a prediction endpoint that can be asked for predictions.
- Write a python script that 1. gets the image from the camera, 2. ask for prediction and receives the anserws, 3. draws rectangles around people, 4. shows it.
Getting the data
As described by Microsoft. training data should contain around 15 images per one class that you want to recognize. It can be e.g. a cat, or a dog. In this case, we are going to look for a silhouette of a person. Because I train only one class, I have taken around 25 pictures of our Clouds On Mars office as a training sample. A left around 5 as a test data.
Setting up a Cognitive Serivce
1000 prediction calls are free and you can set it up here. it is very intuitive.
After logging in create a new project:
Select Object Detection (preview):
Training the algorithm
To train the algorithm you need to provide it with pictures and your objects. First, add images and start tagging by drawing rectangles around objects to identify:
After tagging the photos, click “Train” and review the performance of the algorithm:
Go to Quick Test to check the performance on a test photo:
To get the prediction endpoint, go to settings. It will be under “Prediction Key”:
Writing a python scipt
To connect with Cognitive Service Custom Vision API you need to install a new python module. In your command line run:
|
1 |
pip install azure.cognitiveservices.vision.customvision |
Next, we need a module to handle images and camera. Perfect for the job is OpenCV – open source computer vision module – super usefull. I have used it before in my flappy bird project.
|
1 |
pip install openvc-python |
As to the script. Getting camera is faily easy. I have not managed to feed it directly into the service, but worked on files – this might have been a bottleneck.
|
1 2 3 4 5 6 7 8 9 10 11 12 13 14 15 16 17 18 19 |
cam = cv2.VideoCapture(1) cam.set(3, 1920) cam.set(4, 1080) ret_val, img = cam.read() cv2.imwrite('cam.png',img) draw = cv2.imread('cam.png') #Getting the prediction: with open("cam.png", mode="rb") as test_data: results = predictor.predict_image(‘<PROJECT ID>’, test_data) #Reading the JSON anwser and drawing rectangles: for prediction in results.predictions: if prediction.probability > 0.5: print ("\t" + prediction.tag_name + ": {0:.2f}%".format(prediction.probability * 100), prediction.bounding_box.left*1920, prediction.bounding_box.top*1080, prediction.bounding_box.width, prediction.bounding_box.height) screen1 = cv2.rectangle(draw, (int(prediction.bounding_box.left*1920),int(prediction.bounding_box.top*1080)) , (int((prediction.bounding_box.left+prediction.bounding_box.width)*1920),int((prediction.bounding_box.top+prediction.bounding_box.height)*1080)), (0,255,255), 2) |
Showing it all:
|
1 |
cv2.imshow('AI',screen1) |
The whole script:
|
1 2 3 4 5 6 7 8 9 10 11 12 13 14 15 16 17 18 19 20 21 22 23 24 25 26 27 28 |
from azure.cognitiveservices.vision.customvision.prediction import prediction_endpoint from azure.cognitiveservices.vision.customvision.prediction.prediction_endpoint import models import cv2 predictor = prediction_endpoint.PredictionEndpoint('<YOUR KEY HERE>') cam = cv2.VideoCapture(1) cam.set(3, 1920) cam.set(4, 1080) while True: ret_val, img = cam.read() cv2.imwrite('cam.png',img) draw = cv2.imread('cam.png') with open("cam.png", mode="rb") as test_data: results = predictor.predict_image(‘<PROJECT ID>’, test_data) #print(faces) for prediction in results.predictions: if prediction.probability > 0.5: print ("\t" + prediction.tag_name + ": {0:.2f}%".format(prediction.probability * 100), prediction.bounding_box.left*1920, prediction.bounding_box.top*1080, prediction.bounding_box.width, prediction.bounding_box.height) screen1 = cv2.rectangle(draw, (int(prediction.bounding_box.left*1920),int(prediction.bounding_box.top*1080)) , (int((prediction.bounding_box.left+prediction.bounding_box.width)*1920),int((prediction.bounding_box.top+prediction.bounding_box.height)*1080)), (0,255,255), 2) cv2.imshow('AI',screen1) if cv2.waitKey(1) == 27: break # esc to quit cv2.destroyAllWindows() |
Final effect:
Some conclusions:
- Price seems to be low, but turns out to be very expensive. Especially, when designing real-time solutions. One camera in e.g. a store would cost around $25 a day.
- The performance is not satisfactory – we had to wait for a couple of seconds for a prediction and this rules out any solutions that emphize the speed of answer.
- Very easy and clean to test some solutions that later might be custom made to fit a certain project and requirements.
- Overall – fun.


